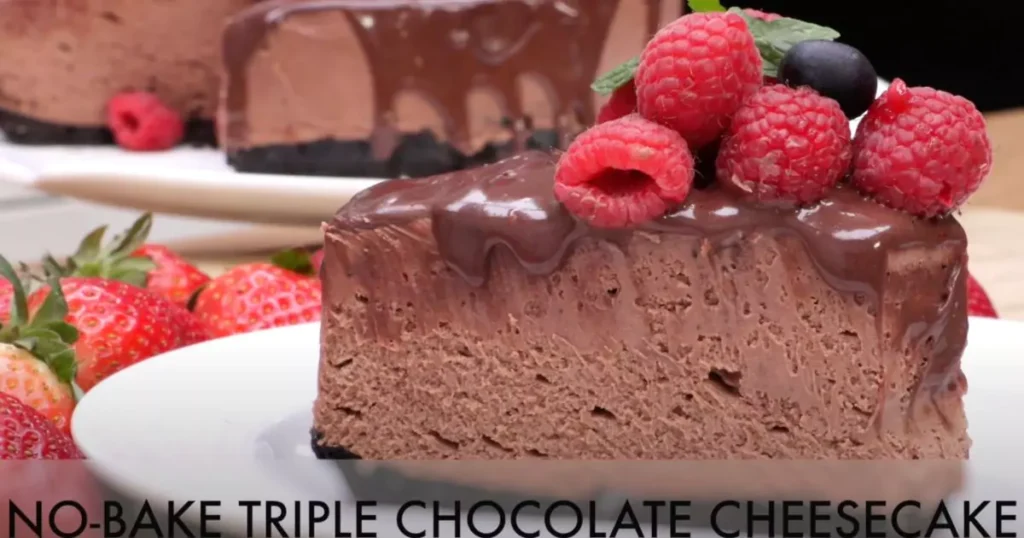
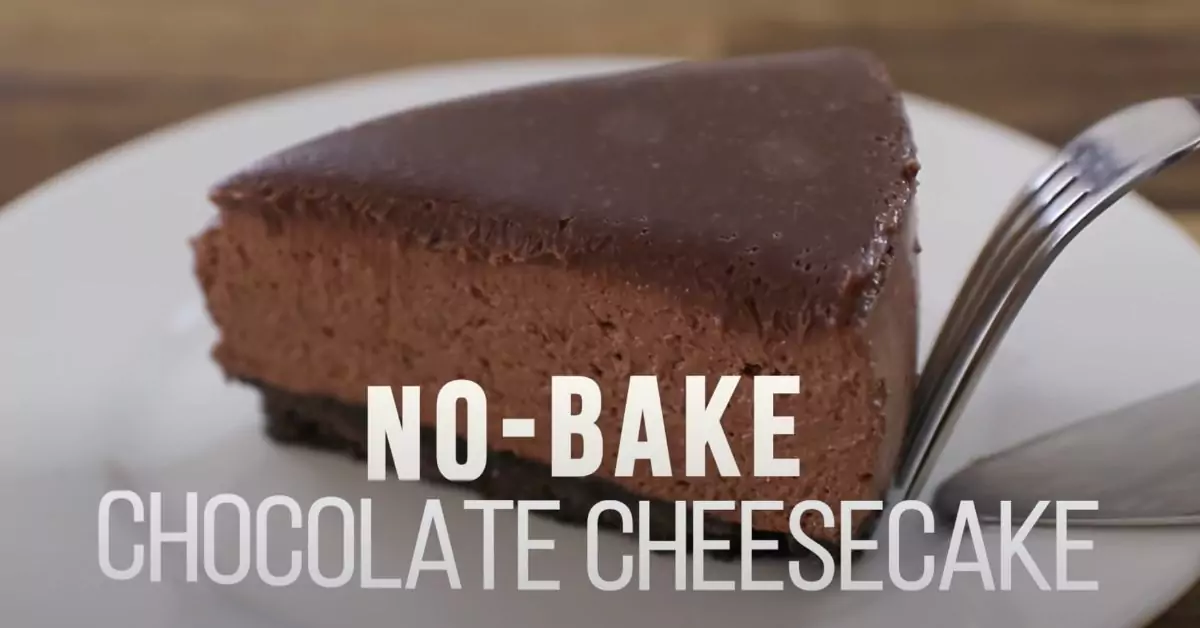
There’s something truly magical about creating a dessert that’s as visually stunning as it is delightful to the palate. Our focus today is on a classic yet simple cheesecake recipe, using digestive biscuits for the base and a rich chocolate filling. This recipe is perfect for those who are new to the world of baking as well as for seasoned dessert enthusiasts. The joy of making a cheesecake lies in the process – from the careful mixing of ingredients to the anticipation of the final set dessert. Whether you’re preparing for a special occasion or just satisfying a sweet craving, this cheesecake recipe promises to be a fulfilling and delicious endeavor.
Understanding Ingredients
Every ingredient in this cheesecake recipe plays a vital role in creating the final decadent dessert. Let’s explore each one and understand why they are essential to this dish.
1. Digestive Biscuits: The Base Foundation
- Texture and Flavor: Digestive biscuits provide a crumbly, slightly sweet base, balancing the richness of the chocolate filling.
- Why Digestives?: Their unique texture and flavor make them an ideal choice for a cheesecake base compared to other biscuits.
2. Butter: Binding the Base
- Role in the Base: Butter acts as the binding agent for the biscuit crumbs, ensuring a firm and even base once set.
3. Cream Cheese: The Heart of Cheesecake
- Creaminess and Tang: Cream cheese gives the cheesecake its characteristic creamy texture and slight tang, which complements the chocolate.
4. Caster Sugar: Sweetness and Texture
- Balancing Sweetness: Caster sugar, with its fine granules, dissolves easily, providing the right amount of sweetness without overpowering the other flavors.
5. Milk Chocolate: Decadence in Every Bite
- Flavor and Texture: Milk chocolate, especially from the baking aisle, melts smoothly, contributing to the rich, velvety texture of the filling.
- Choosing the Right Chocolate: Opting for baking chocolate ensures easier melting and a consistent flavor.
6. Cocoa Powder: Deep Chocolate Notes
- Enhancing Chocolate Flavor: Cocoa powder intensifies the chocolate flavor, adding depth to the cheesecake.
7. Double Cream: Luscious Smoothness
- Creamy Consistency: Double cream, when whipped and folded into the mixture, adds a luxurious, smooth consistency to the cheesecake.
Understanding these ingredients and their roles is key to mastering this cheesecake recipe. Each component contributes to the overall texture, flavor, and appearance of the dessert, making it an indulgent treat for any occasion.
Step-by-Step Recipe Guide
This guide will take you through each step of making the cheesecake, ensuring that even beginners can achieve a delicious and visually appealing dessert.
1. Preparing the Base
- Crushing the Digestive Biscuits: Start by crushing 100g of digestive biscuits until they are fine crumbs. You can do this using a food processor or placing the biscuits in a sealed bag and crushing them with a rolling pin.
- Melting the Butter: Melt 40g of butter in a pan or microwave. Then, mix the melted butter with the biscuit crumbs until well combined.
- Setting the Base: Press this mixture into the base of an 18cm round loose-bottomed tin lined with greaseproof paper. Use the back of a spoon to flatten it evenly. Chill in the fridge while preparing the topping.
2. Melting the Chocolate
- Gently Melt the Chocolate: Melt 175g of milk chocolate, chosen from the baking aisle for its ease of melting. You can use a saucepan over low heat, a bain-marie, or microwave in 20-second bursts. Let it cool slightly after melting.
3. Preparing the Cheesecake Mixture
- Mixing Cream Cheese and Sugar: Beat together 250g of cream cheese and 120g of caster sugar until smooth.
- Whipping the Double Cream: In a separate bowl, whip 150ml of double cream until it forms soft peaks. Be careful not to over-whip.
- Combining the Ingredients: Gently fold the melted chocolate into the whipped cream. Sift in 20g of cocoa powder and mix until combined. Finally, fold in the cream cheese and sugar mixture until everything is well incorporated.
4. Assembling the Cheesecake
- Adding the Filling: Remove the tin from the fridge and add the cheesecake mixture on top of the biscuit base. Use a small palette knife or the back of a spoon to smooth the top, ensuring there are no air bubbles.
- Chilling: Refrigerate the cheesecake for at least a couple of hours, preferably longer, to set properly.
5. Serving the Cheesecake
- Removing from the Tin: Carefully remove the cheesecake from the tin. If the edges are smudged, run a palette knife around the edge to smooth them.
- Decoration: For an extra touch, garnish the cheesecake with chocolate shavings made from dark and white chocolate.
Creating this cheesecake is as much about enjoying the process as it is about the delicious end result. By following these steps, you’ll be able to present a dessert that’s not only tasty but also visually stunning.
Recipe Variations
A classic cheesecake offers a canvas for creativity. Here are some variations to tailor the recipe to your taste and dietary preferences.
1. Biscuit Base Variations
- Gluten-Free Option: Replace digestive biscuits with gluten-free alternatives to cater to dietary restrictions.
- Flavor Twist: For a different flavor, try using ginger snaps or chocolate cookies as the base.
2. Chocolate Alternatives
- Dark Chocolate: Substitute milk chocolate with dark chocolate for a richer, less sweet filling.
- White Chocolate Delight: For a sweeter, creamier taste, use white chocolate instead of milk chocolate.
3. Dairy-Free Adjustments
- Vegan Cream Cheese: Use dairy-free cream cheese alternatives for a vegan version of the cheesecake.
- Coconut Cream: Replace double cream with coconut cream for a dairy-free and vegan-friendly option.
4. Sugar Alternatives
- Reduced Sugar: Decrease the amount of caster sugar if you prefer a less sweet dessert.
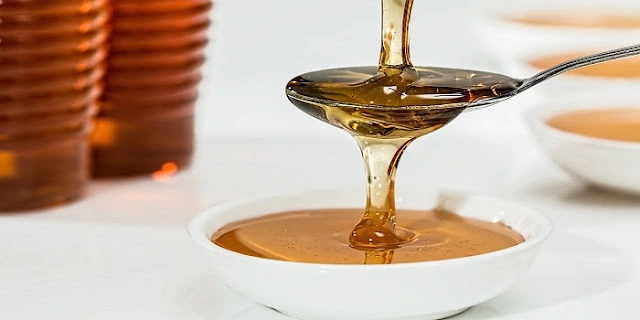
- Natural Sweeteners: Consider using honey, maple syrup, or agave nectar as natural sweeteners.
5. Flavor Infusions
- Citrus Zest: Add lemon or orange zest to the cheesecake mixture for a citrusy flavor.
- Coffee Kick: Incorporate a small amount of strong espresso or coffee extract into the chocolate mixture for a mocha cheesecake.
6. Toppings and Garnishes
- Fruit Toppings: Top your cheesecake with fresh berries, banana slices, or a fruit compote for added freshness and flavor.
- Sauce Drizzles: Drizzle caramel, strawberry, or chocolate sauce over the cheesecake before serving.
7. Themed Cheesecakes
- Holiday Specials: Add spices like cinnamon or nutmeg for a festive twist during the holiday season.
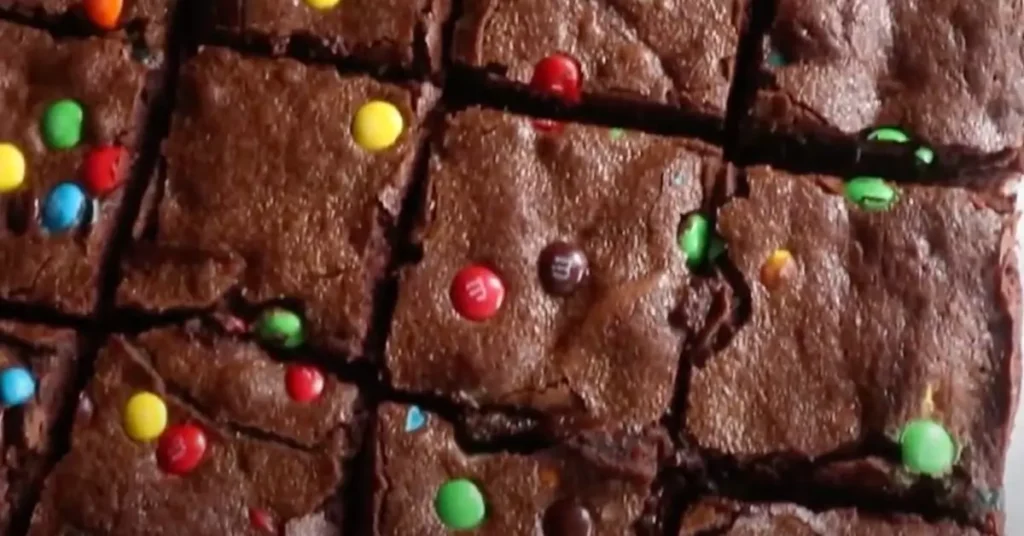
- Kid-Friendly Fun: Decorate with colorful sprinkles, mini marshmallows, or chopped candy bars for a fun, kid-friendly dessert.
8. Individual Cheesecakes
- Mini Cheesecakes: Make individual servings using muffin tins for personal-sized treats.
These variations demonstrate the versatility of the cheesecake recipe, allowing you to play with flavors and ingredients to suit your palate or dietary needs.
Health and Nutritional Perspective
While cheesecake is often considered an indulgent treat, understanding its nutritional aspects can help in making it a part of a balanced diet.
1. Nutritional Breakdown of Ingredients
- Digestive Biscuits: Typically made with wholemeal flour, digestive biscuits offer some fiber, but they also contain sugar and fats.
- Butter: High in saturated fats, it’s important to consume butter in moderation.
- Cream Cheese: Rich in calcium and protein, but also high in fat and calories.
- Sugar: Provides energy but should be consumed in moderation due to its lack of nutritional value and impact on blood sugar levels.
- Chocolate: Milk chocolate adds sugar and fat, but switching to dark chocolate can offer antioxidants and reduced sugar content.
- Cocoa Powder: A good source of antioxidants, with minimal sugar and fat.
- Double Cream: High in fat, but also a source of vitamins A and D.
2. Making Healthier Choices
- Reducing Sugar: Consider cutting down the amount of caster sugar or replacing it with a natural sweetener.
- Dark Chocolate: Opting for dark chocolate can reduce sugar intake and add beneficial antioxidants.
- Low-Fat Dairy Options: Use low-fat cream cheese and double cream alternatives to decrease calorie and fat content.
3. Portion Control
- Mindful Eating: Enjoying cheesecake in smaller portions can be a part of a balanced diet. Savoring each bite helps in appreciating the dessert without overindulgence.
4. Dietary Balance
- Complement with Healthy Foods: Balance your overall diet by eating nutrient-rich foods like fruits, vegetables, whole grains, and lean proteins in other meals.
5. Special Dietary Needs
- Gluten-Free and Vegan Options: Adapting the recipe with gluten-free biscuits and dairy-free alternatives can make the cheesecake suitable for different dietary restrictions.
While this cheesecake is a treat, making mindful ingredient choices and practicing portion control can allow you to enjoy it within a healthy and balanced diet.
Storage and Presentation Tips
Proper storage and presentation are crucial for maintaining the quality of your cheesecake and making it a showstopper at any gathering.
1. Storing the Cheesecake
- Refrigeration Is Key: Always store the cheesecake in the refrigerator. It should be kept in an airtight container to prevent it from absorbing odors from other foods.
- Shelf Life: A properly stored cheesecake can last in the fridge for up to 5 days.
- Freezing for Longer Storage: For longer storage, cheesecakes can be frozen. Wrap it tightly in plastic wrap and then in foil. It can be stored in the freezer for up to 2 months.
2. Thawing Frozen Cheesecake
- Gradual Thawing: When ready to eat, transfer the cheesecake from the freezer to the refrigerator and allow it to thaw overnight.
3. Presentation Tips
- Smooth Edges: For a polished look, run a palette knife or a warm knife around the edges of the cheesecake to smooth any imperfections.
- Adding Toppings Just Before Serving: To maintain the freshness and texture of toppings, add them just before serving.
- Chocolate Shavings: Create chocolate shavings by running a vegetable peeler along the edge of a chocolate bar. Sprinkle these over the cheesecake for an elegant finish.
- Serving Plate: Transfer the cheesecake to a stylish serving plate or cake stand for an impressive presentation.
4. Slicing the Cheesecake
- Clean Cuts: Use a sharp, thin-bladed knife dipped in hot water to make clean slices. Wipe the knife between cuts.
By following these storage and presentation tips, your cheesecake will not only taste delicious but will also look professionally made, ready to impress your guests.
FAQs
1. Can I Use a Different Type of Biscuit for the Base?
Absolutely! While digestive biscuits provide a classic taste and texture, feel free to experiment with other types like graham crackers or ginger snaps for a different flavor profile.
2. How Do I Know When the Cheesecake Is Set and Ready?
The cheesecake is set when it’s firm to the touch but still slightly wobbly in the center. It will firm up more after chilling in the fridge.
3. Can I Make Cheesecake Without a Springform Pan?
Yes, you can use a regular round cake tin lined with greaseproof paper. Just ensure you have a way to lift the cheesecake out, such as using strips of baking paper to create a makeshift lift.
4. Why Is My Cheesecake Cracking and How Can I Prevent It?
Cracking can occur due to overmixing, overbaking, or sudden temperature changes. To prevent this, mix ingredients gently, avoid overbaking, and cool the cheesecake gradually in the oven with the door slightly ajar.
5. Is There a Vegan Substitute for Cream Cheese and Double Cream?
Vegan cream cheese and coconut cream are excellent substitutes for dairy in cheesecake recipes. They mimic the texture well and provide a similar richness.
6. How Can I Add a Fruit Layer to My Cheesecake?
You can add a layer of fruit compote or fresh fruit slices on top of the cheesecake before chilling. Ensure the fruit layer is not too wet to avoid seeping into the cheesecake.
7. How Far in Advance Can I Make My Cheesecake?
You can make your cheesecake up to 2 days in advance. Keep it in the refrigerator until you’re ready to serve.
Conclusion
We’ve explored the intricacies of choosing the right ingredients, followed a step-by-step guide to ensure perfect results, and discovered numerous variations to customize the recipe to our liking. Additionally, we delved into the health aspects of the ingredients, offering ways to indulge mindfully. The storage and presentation tips provided ensure that your cheesecake not only tastes fantastic but also looks stunning on any dining table.
The Power of Homemade Desserts
This cheesecake recipe exemplifies the joy and satisfaction that comes from creating something homemade. It’s a testament to how simple ingredients, when combined with a bit of care and creativity, can transform into a sumptuous dessert that pleases both the eye and the palate.
An Invitation to Experiment
As you venture into making this cheesecake, remember that each step is an opportunity to learn and grow in your baking skills. Don’t be afraid to experiment with different flavors and toppings or to adapt the recipe to meet dietary needs.
The Perfect Treat for Any Occasion
Whether you’re celebrating a special occasion, looking for a comforting treat, or simply want to impress your guests, this chocolate cheesecake is the perfect choice. It’s a dessert that’s bound to bring smiles and satisfaction.
In conclusion, we hope this guide inspires you to don your apron, gather your ingredients, and start the delightful process of cheesecake making. Enjoy the journey, relish the flavors, and share the joy with your loved ones.
Happy baking!