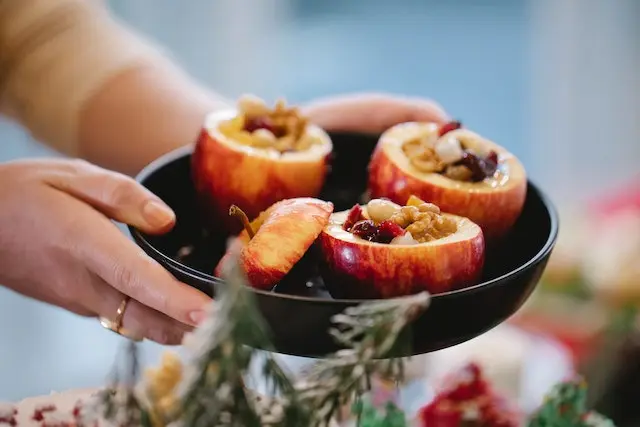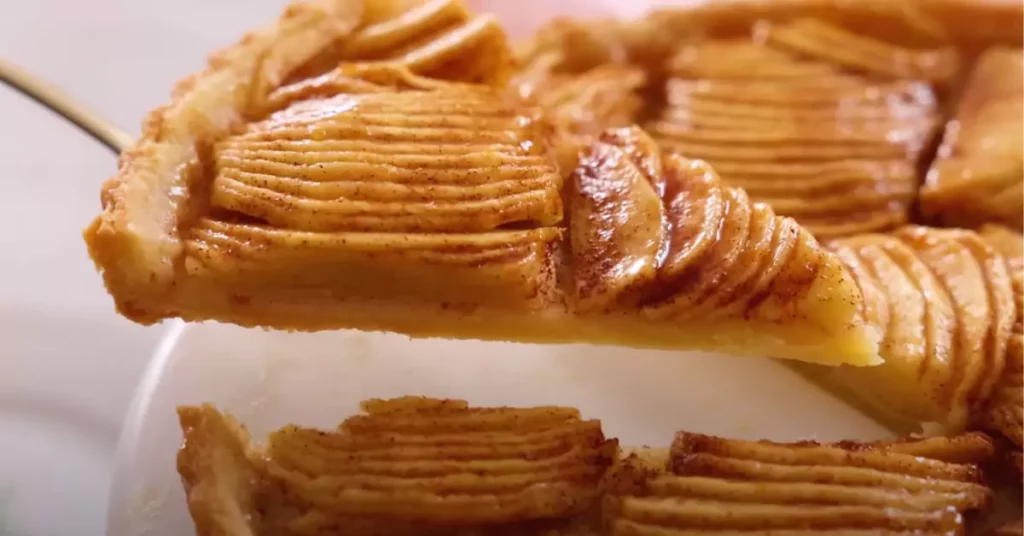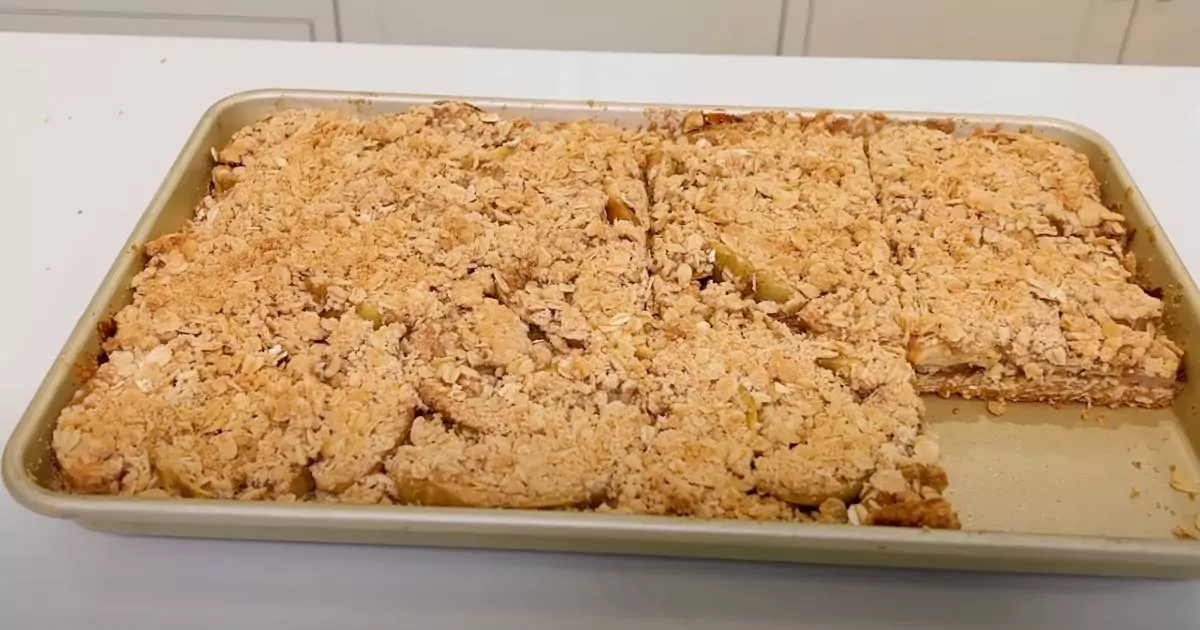
Apple pie bars offer all the delightful flavors of traditional apple pie in a convenient bar form. Perfect for picnics, potlucks, or a sweet snack on the go, these bars feature layers of tender apples, a buttery crust, and a crumbly topping. This recipe simplifies the apple pie experience without sacrificing any of the classic taste, making it an ideal treat for both casual and formal gatherings.
Ingredients
Here’s what you’ll need to make these scrumptious apple pie bars:
- For the Crust:
- All-Purpose Flour: 2 ½ cups
- Granulated Sugar: ½ cup
- Salt: ½ teaspoon
- Unsalted Butter: 1 cup, cold and cubed
- For the Apple Filling:
- Apples: 4 large, peeled, cored, and thinly sliced
- Granulated Sugar: ½ cup
- Cinnamon: 1 teaspoon
- Nutmeg: ¼ teaspoon
- For the Crumb Topping:
- All-Purpose Flour: 1 cup
- Brown Sugar: ½ cup
- Oats: ½ cup
- Unsalted Butter: ½ cup, cold and cubed
Step-by-Step Guide
- Preheat Oven and Prepare Pan: Preheat your oven to 350°F (175°C). Line a 9×13 inch baking dish with parchment paper, allowing some overhang for easy removal.
- Prepare the Crust: In a large mixing bowl, combine the flour, sugar, and salt. Cut in the cold butter using a pastry cutter or your fingers until the mixture resembles coarse crumbs. Press the mixture firmly into the bottom of the prepared baking dish. Bake for 15 minutes until just set.
- Make the Apple Filling: Toss the sliced apples with sugar, cinnamon, and nutmeg until well coated. Arrange the apple mixture evenly over the pre-baked crust.
- Prepare the Crumb Topping: In the same bowl used for the crust (no need to clean it), mix together the flour, brown sugar, and oats. Cut in the butter until the mixture is crumbly. Sprinkle this topping over the apple layer.
- Bake: Place the baking dish back in the oven and bake for about 45 minutes, or until the topping is golden brown and the apples are tender.
- Cool and Serve: Allow the bars to cool in the pan on a wire rack for at least an hour before lifting out using the parchment paper overhang. Cut into bars and serve.
Storage Ideas
Apple pie bars can be stored in an airtight container at room temperature for up to two days, or refrigerated for up to five days. They can also be frozen for up to three months. Thaw overnight in the refrigerator before serving.
Add-Ons
- Ice Cream: Serve warm apple pie bars with a scoop of vanilla ice cream for a classic apple pie experience.
- Caramel Drizzle: Add a drizzle of caramel sauce over the bars before serving for extra sweetness and flair.
- Nutty Flavor: Mix chopped pecans or walnuts into the crumb topping for added crunch and nutty flavor.
FAQs
Q: Can I use a different type of apple for this recipe?
A: Yes, you can use any type of baking apple. Granny Smith, Honeycrisp, and Fuji are all excellent choices for their flavor and firmness.
Q: Can these bars be made gluten-free?
A: Absolutely! Just substitute the all-purpose flour with your favorite gluten-free flour blend designed for baking.
Q: How can I ensure the crust doesn’t get too soggy?
A: Pre-baking the crust before adding the apple filling helps it stay firm and crisp. Make sure the apple slices are not excessively juicy by tossing them in flour or choosing less juicy apple varieties.
Health Concerns and Benefits
While apple pie bars are a delightful treat, they are high in sugars and fats. However, apples are a good source of dietary fiber and vitamin C. For a healthier alternative, consider reducing the sugar or using whole grain flour for the crust.
Apple pie bars are the perfect way to enjoy the essence of apple pie in a more portable and convenient form. They capture the heartwarming flavors of cinnamon-spiced apples and buttery pastry, making them a hit for any occasion. Enjoy baking and sharing these delightful treats!


